
Best Condo Flooring: Choose Quiet Floors That Last 2026
Understand condo flooring rules in Brampton: sound ratings, waterproofing, approvals, and board-friendly materials. Metro’s step-by-step guide helps you pass fast.
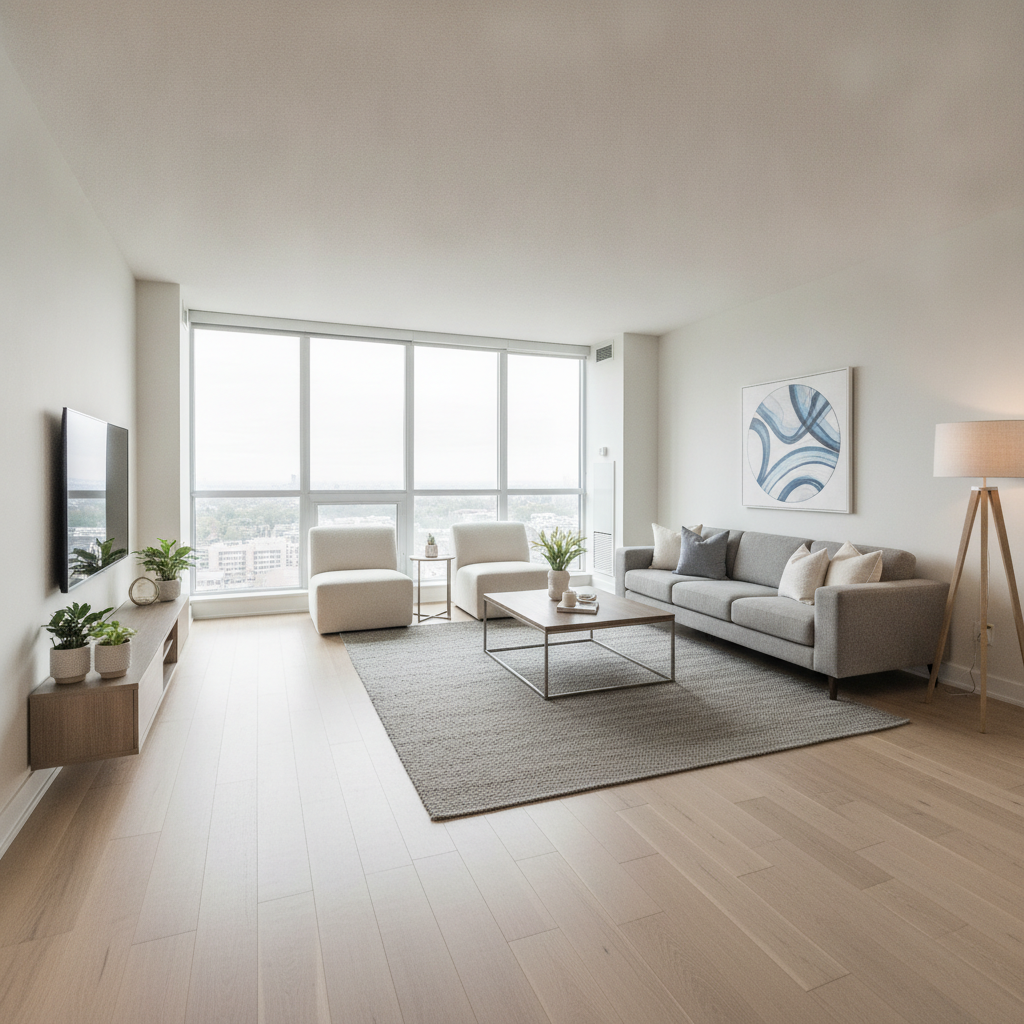
Condo flooring rules in Brampton are the bylaws and standards your condominium board enforces for new floors. They typically cover sound ratings (STC/IIC), approved underlayments, waterproofing in wet areas, and work hours. Follow them to get faster approvals, avoid fines, and keep neighbors happy while improving your home.
By Dwanish Shah, Metro Tiles & Flooring • Last updated: 2026-06-26
Quick summary: Brampton condo flooring rules
Most Brampton condos require documented sound control (often IIC/STC ≥ 60), approved acoustic underlayment, waterproof finishes in baths, board pre-approval, and proof of qualified installers. Submit product cut sheets, underlayment specs, and a work schedule to speed approval and prevent violations.
Here’s the snapshot busy condo owners ask us for at the showroom. Use this as your checklist before you lift a single plank or tile.
- Board approval first: Application + materials list + installer details.
- Sound control: Underlayment that helps reach IIC/STC 60+ is commonly required.
- Wet areas: Waterproof surfaces (porcelain/ceramic, waterproof vinyl) and proper membranes.
- Work windows: Quiet hours and elevator bookings are standard.
- Documentation: Manufacturer cut sheets, install guides, and warranty information.
What are condo flooring rules in Brampton?
Condo flooring rules in Brampton define what materials and methods you may use, how quiet your finished floor must be, and what paperwork your board needs. They protect neighboring units from noise and leaks and outline steps for pre-approval and final signoff.
When we say “rules,” we’re talking about your condo corporation’s bylaws and renovation guidelines. They aren’t optional. They cover acoustic targets, waterproofing, demo practices, and even which elevator to use for material moves.
- Acoustic performance: Many boards reference minimum IIC/STC targets (commonly 60 or higher).
- Approved materials: Waterproof vinyl, porcelain/ceramic tile, engineered hardwood; laminate accepted case-by-case with proper underlayment.
- Underlayment: Rubber, cork, or composite pads (often 2–3 mm) designed for multi-family noise control.
- Installation method: Floating floors with click systems, or glue-down when specified; tile set over crack-isolation/waterproof membranes.
- Administrative controls: Pre-approval, work-hour limits, elevator padding/booking, and final inspection.
If you’re unsure where to start, bring your board’s renovation package to Metro Tiles & Flooring. We’ll match materials and underlayments to those requirements so your application lands right the first time.
Why these rules matter (and how they protect you)
Condo flooring rules reduce impact noise, prevent water damage, and keep common areas orderly. Following them helps you avoid delays, fines, and redo work while protecting warranties and resale value. In short, rules save you stress and money over the project’s life.
Here’s the thing: quiet, watertight floors are the fastest way to a friendly hallway. Footfall noise transfers through concrete slabs; acoustic underlayments absorb vibration so your downstairs neighbor hears less. In wet rooms, membranes stop leaks before they migrate.
- Noise control: Floors that reach IIC/STC in the 60s reduce complaints dramatically compared to bare concrete.
- Liability reduction: Documented membranes and expansion joints show due diligence if an issue arises later.
- Resale benefits: Prospective buyers value compliant renovations and transferable manufacturer warranties.
- Insurance alignment: Insurers expect prudent moisture and noise mitigation in multi-family settings.
We’ve seen boards approve projects in a single review when homeowners attach the right spec sheets. That’s the goal—clean documentation, quiet floors, and no surprises.
How the condo approval process works (step-by-step)
Approval hinges on a clear scope, product documentation, and a realistic work plan. Submit your application with cut sheets for flooring and underlayment, proof of installer qualifications, and a schedule that respects quiet hours. Expect an administrative review and, sometimes, a final inspection.
Most Brampton boards follow a similar rhythm. Your building’s details will vary, but the playbook rarely does. Use this framework as your roadmap.
- Collect rules: Download your condo’s renovation package and highlight flooring clauses.
- Choose materials: Bring your package to our showroom; we’ll shortlist approved floors and underlayments.
- Assemble documents: Cut sheets, install manuals, membrane specs, and warranty info.
- Complete application: Include your installer’s credentials and insurance where requested.
- Submit and book: File the package and reserve service elevator/protection at the same time.
- Pre-start review: Board or management confirms hours, access instructions, and protection of common areas.
- Install: Follow the manufacturer’s instructions exactly (expansion gaps, trowel sizes, cure times).
- Closeout: Provide photos or allow inspection; retain documents with your unit records.
Materials and methods that typically pass in Brampton condos
The most board-friendly systems pair quiet underlayment with rigid-core vinyl (SPC), engineered hardwood, or porcelain tile over membranes. Aim for composite assemblies that can demonstrate higher IIC/STC performance and water resistance in baths and kitchens.
Not every “hard surface” behaves the same. The right combination of floor + underlayment + method controls noise and moisture while meeting your design goals.
Common assemblies we recommend from our showroom
- Luxury vinyl plank (SPC): Dense core helps with impact transmission; pair with rubber/cork underlayment designed for multi-family use.
- Engineered hardwood: Stable construction minimizes seasonal movement; use an acoustic pad and respect expansion gaps.
- Porcelain or ceramic tile: Use a waterproof/crack-isolation membrane and leveling clips for lippage control.
- Laminates: Consider only with high-quality acoustic pad and strict moisture controls; boards vary on acceptance.
For inspiration on finishes, our curated European tile brands—Baldocer, Gayafores, and La Platera—cover modern stone looks, warm woods, and refined textures suitable for condos when paired with the right systems.
| Flooring Type | Noise Potential | Water Resilience | Typical Underlayment | Board Friendliness |
|---|---|---|---|---|
| Waterproof Vinyl (SPC/LVP) | Good with acoustic pad | Excellent for kitchens/baths | Rubber/cork composite (2–3 mm) | High |
| Engineered Hardwood | Good with premium pad | Moderate; avoid standing water | Rubber/cork acoustic pad | High |
| Porcelain/Ceramic Tile | Excellent over membrane | Excellent with waterproofing | Sound + waterproof membrane | High |
| Laminate | Varies; pad is critical | Low to Moderate | High-density acoustic pad | Medium (board-dependent) |
Best practices for approval and installation
Win fast approvals with precise documentation and products known for quiet performance. During installation, protect common areas, follow manufacturer specs to the letter, and photograph each stage. These habits reduce complaints and give your board everything it needs to say yes.
Paperwork that gets green lights
- Spec packets: Flooring + underlayment cut sheets, install manuals, and lab-tested acoustic data if available.
- Method statement: Brief write-up covering demo dust control, elevator protection, and noise mitigation.
- Schedule clarity: Start/stop times that align with building quiet hours and posted notice to neighbors.
Installation habits that boards appreciate
- Acoustic continuity: Don’t bridge underlayment with rigid fills at transitions; keep the sound path uniform.
- Perimeter gaps: Maintain expansion space and use compliant trims—no hard connections to walls or columns.
- Moisture protocols: In baths, use waterproof membranes and flood-test pans when applicable.
- Photo log: Document substrate condition, membrane coverage, and underlayment seams.
Local considerations for Brampton
- Plan deliveries to avoid rush times near Intermodal - Zum Bovaird Station Stop NB; elevator bookings fill quickly on weekdays.
- Winter installs? Acclimate materials and maintain stable indoor humidity before click-lock floors are laid.
- Our showroom team regularly supports condo applications; bring your board forms and we’ll align products and specs before submission.
Tools, resources, and where Metro helps
Use acoustic underlayments designed for multi-family buildings, waterproof/crack isolation membranes for tile, and rigid-core vinyl or engineered hardwood with clear lab data. Metro provides samples, spec sheets, and brand options that meet common condo standards.
In our experience, condo approvals move fastest when every component is traceable back to a manufacturer spec. We maintain product binders and links so you can attach documentation in minutes, not hours.
- Quiet vinyl options: See our Quiet Zone vinyl series engineered for low sound transmission.
- Popular SPC choice: Review the Maple Fog 7mm SPC product page for construction and install details.
- Commercial-grade vinyl: Explore the Contract Series Brisbane for durable multi-unit corridors.
- Design direction: For a coordinated look, our team references brand style guides (e.g., Baldocer) when selecting tile.
- Hardwood insights: New condo-friendly widths and finishes are covered in our 2026 hardwood trends guide.
Need a sanity check on your board’s sound targets? Bring the document to our Brampton showroom. We’ll pair it with appropriate pads and membranes so your assembly meets or exceeds the stated goals.
How to avoid common roadblocks with condo boards
Most delays come from missing acoustic data, vague schedules, or unsupported materials. Choose products with clear specs, commit to quiet-hour windows, and keep communication friendly. When in doubt, ask your board to confirm an assembly in writing before you start.
- Unclear sound ratings: Provide the underlayment’s IIC/STC report and describe your full stack-up.
- Moisture in baths: Show the membrane name and the method (e.g., full-coverage thinset, sealed seams).
- Access conflicts: Book the service elevator and padding when you submit your application.
- Noise complaints: Use rubber-capped dollies and protect hall floors; keep cut stations inside with door seals.
Bathrooms, kitchens, and waterproofing expectations
Wet rooms typically require waterproof surfaces and continuous membranes. Porcelain/ceramic tile with a waterproof/crack-isolation layer is the gold standard. Waterproof vinyl can work in kitchens, but respect appliance clearances and underlayment continuity at thresholds.
- Tile assemblies: Use large-format porcelain over membranes with proper trowel size and leveling clips to reduce lippage.
- Vinyl in kitchens: Choose rigid-core waterproof vinyl; maintain expansion gaps around islands and cabinets.
- Transitions: Seal edges where water might intrude; use trims compatible with acoustic targets.
For style planning, our team often references a Baldocer tile style guide during selections to keep kitchens and baths cohesive with living areas while staying inside board-approved assemblies.
Case studies: real Brampton condo scenarios
We’ve helped Brampton condo owners pass approvals on first submission by pairing the right products with thorough documentation. These brief scenarios show how material choices and paperwork streamline the process and improve daily living.
Case 1: Quiet living room upgrade
A couple in downtown Brampton wanted a warm wood look without neighbor complaints. We specified SPC vinyl over a rubber-cork pad, attached spec sheets, and outlined quiet-hour work. The board approved in one cycle; footfall noise dropped noticeably, and furniture pads kept movement silent.
Case 2: Bath renovation with porcelain tile
A unit with past moisture issues needed certainty. We recommended large-format porcelain over a waterproof membrane and documented the full system. The board accepted the assembly, and the final inspection noted improved slope and sealed penetrations.
Case 3: Engineered hardwood, board-friendly
The owner preferred real wood. We used engineered hardwood with a premium acoustic pad and provided expansion details and trims. Post-install, sound sensitivity from the neighbor below decreased, and the unit gained resale appeal.
Frequently Asked Questions
Brampton condo flooring projects succeed when you match products to your board’s bylaws, document acoustic and waterproofing performance, and respect quiet hours. These FAQs cover the approvals, materials, and steps owners ask about most.
Do I need board approval before replacing floors?
Yes. Most Brampton condos require a formal application that lists materials, underlayment, installer details, and a work plan. Submitting product cut sheets and acoustic data with your form speeds the review and lowers the chance of revisions.
What sound ratings should I target for a condo?
Many boards look for assemblies that achieve IIC and STC in the 60s. Use multi-family acoustic underlayment under rigid-core vinyl or engineered hardwood, and consider sound-rated membranes beneath tile to control impact and airborne noise.
Is waterproof vinyl allowed in kitchens and baths?
Waterproof vinyl is commonly accepted in kitchens and powder rooms when paired with a compliant underlayment. Many boards still prefer porcelain or ceramic tile with a waterproof membrane for full bathrooms because it offers continuous water protection.
How do I prove my floor will be quiet enough?
Attach manufacturer acoustic test reports for your underlayment and describe the complete assembly (floor + pad + substrate). Include install instructions showing expansion gaps and perimeter isolation so the board sees how the system maintains performance.
Can Metro Tiles & Flooring help with applications?
Absolutely. Bring your condo package to our Brampton showroom. We’ll recommend compliant products, print spec sheets, and organize your submittal so your board has everything it needs to approve your project quickly.
Conclusion and next steps
Successful Brampton condo flooring projects pair the right materials with strong documentation and respectful scheduling. Aim for board-friendly assemblies, provide acoustic and waterproofing proofs, and keep common areas protected. You’ll shorten review times and enjoy quieter, longer-lasting floors.
- Key takeaways
- Condo flooring rules in Brampton focus on sound, waterproofing, and order.
- Target IIC/STC in the 60s with quality underlayment and membranes.
- Choose SPC vinyl, engineered hardwood, or porcelain tile for fastest approvals.
- Submit clear spec packets and a realistic work plan to your board.
- Action steps
- Bring your board package to our showroom for a product-match session.
- Pick finishes from our curated brands and take home samples for lighting checks.
- Print your submission packet with our team and lock in installation dates.
Need help now? Book a quick consult with Metro Tiles & Flooring. We’ll align your selections with your board’s rules and prepare the documents you need. Start here: visit our Brampton showroom online.
Additional perspective: Altima Kitchens and Closets outlines condo renovation challenges and scheduling realities; SGRD Construction discusses when municipal permits apply; and Mahal Concrete and Construction highlights multi-unit flooring considerations relevant to noise and vibration.
Topics